Wednesday, February 29, 2012

Patina Gold Letters

Last week on my road trip to JoAnn's I got these paper mache letters:

Life: Designed
I don't know why but these are impossible to find in Canada!

Like most of you I love the zinc Anthropologie letters (minus the price tag).

Anthropologie
But since these are for my friend's wedding (her colour scheme is a dark seafoam green and gold), I went ahead and tried a patina gold look.

I wasn't really sure what I was doing but figured gold and black paint should do the trick!

Life: Designed
Life: Designed
Why magnetic paint? Simply because it's the only black paint I had on hand. No other reason. =)

The magnetic paint dries pretty fast especially on the paper mache so I had to work fast and painted little sections at a time.

Life: Designed
Not bad!

Here's what you do:

Start off with black paint- dabbing it on the letter- you just need a little bit and you don't want to cover the whole letter with black otherwise it'll be WAY too dark. Just create spots of black.Then while it's still wet (very important!), add the gold paint and mix! I used criss-cross brush strokes to get a patina look. Add more gold as needed. 

Life: Designed
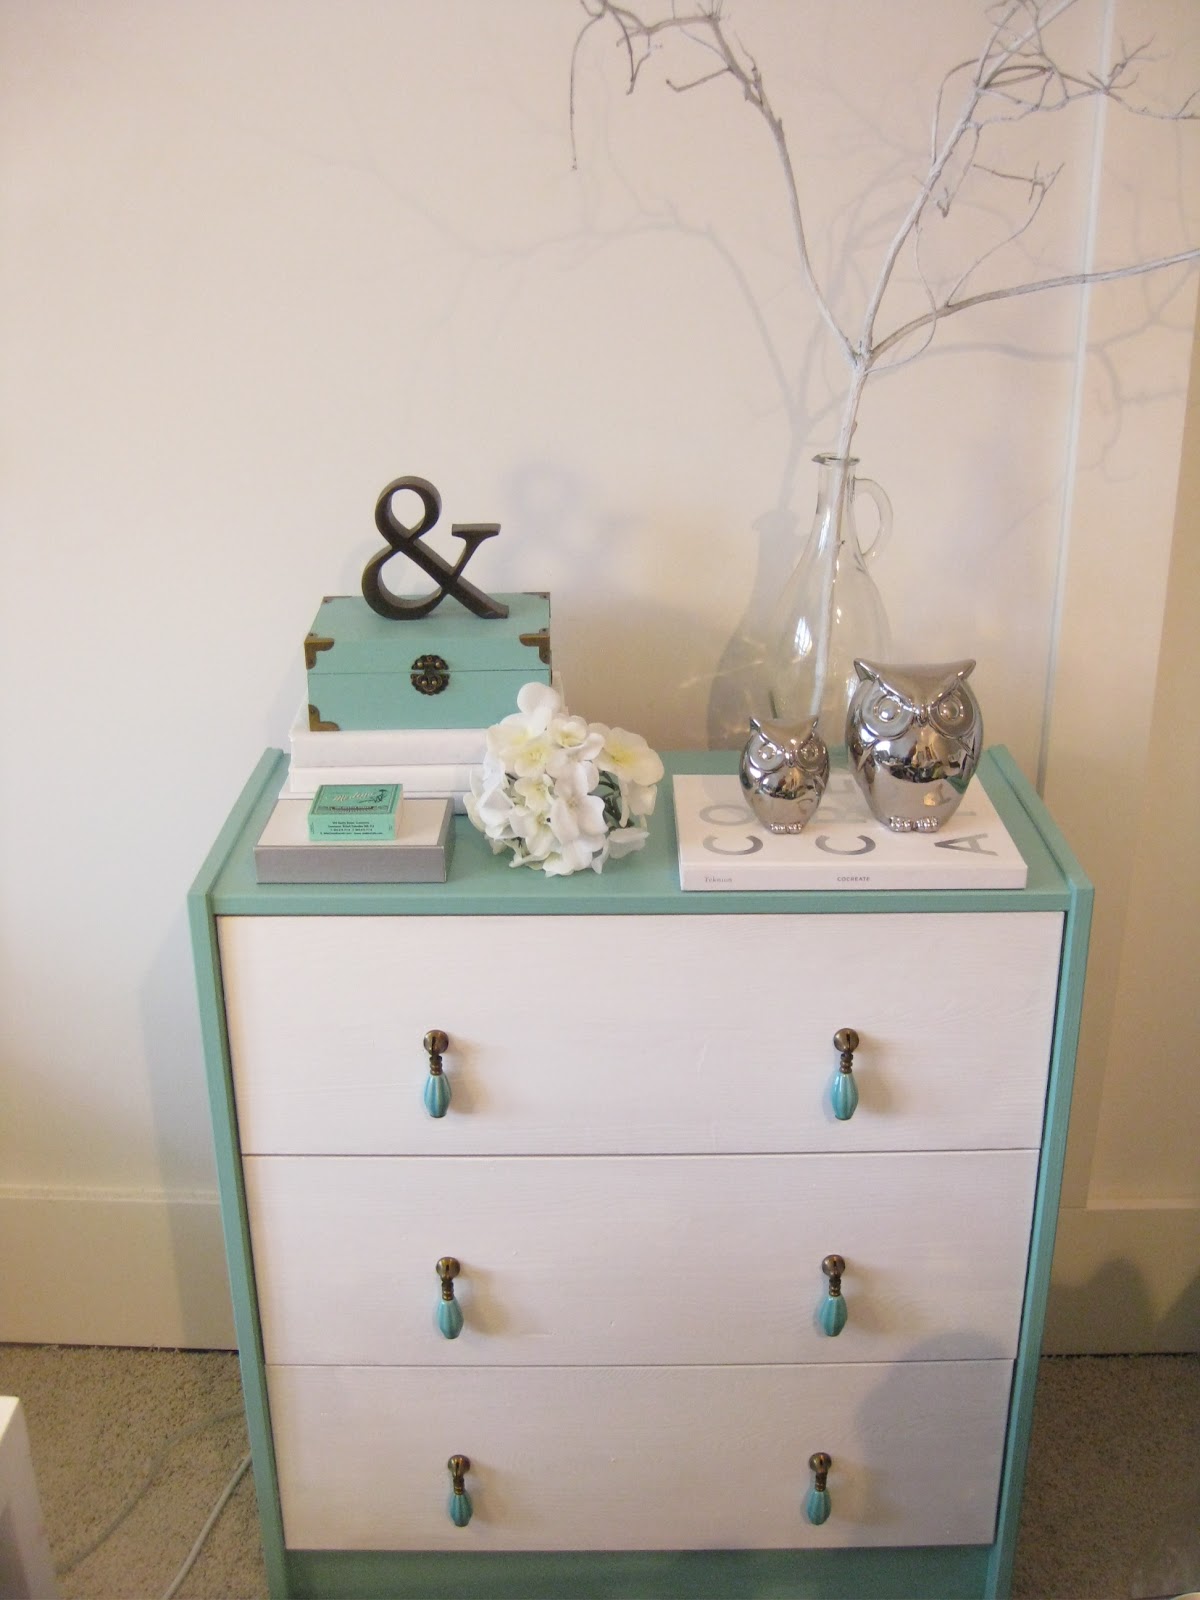
I'm thinking these will be great on the guest book table. I was hoping JoAnn's would have an ampersand but no such luck. I just might have to splurge and get the Anthropologie ampersand and paint it to match. 

They actually turned out a lot better than I thought. I went into it not sure what would happen! 

One day I'll try to paint faux zinc letters but these will do for now! =)

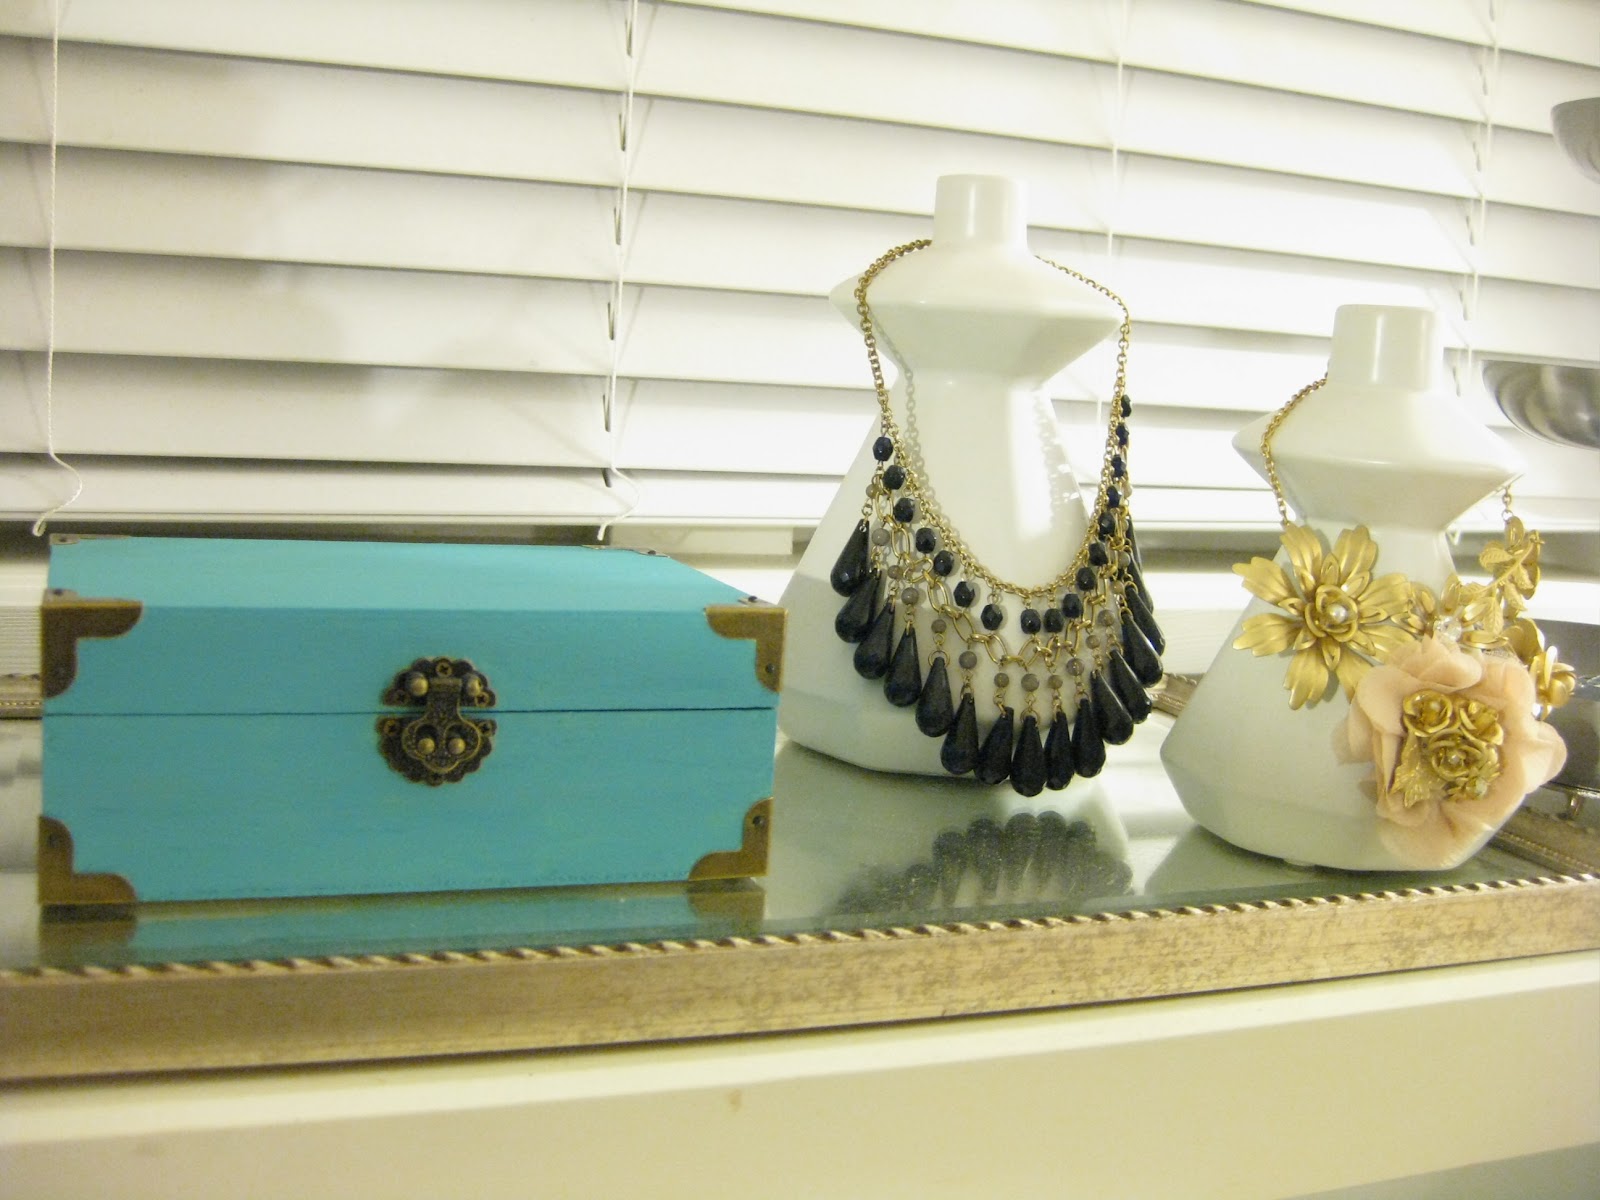
That one little bottle of gold paint sure goes a long way! Remember these thrift store frames?

Life: Designed
They all got a coat of gold + black paint!

Life: Designed
Some of these frames will be hanging behind the head table, some will be displayed on the guest book table. Slowly but surely the wedding decorations are coming together!

Tuesday, February 28, 2012

DIY Lace Candle Holders

How fab is lace?! It's not just your granny's tablecloth anymore! From Grace Kelly to Ivanka Trump to Kate Middleton... lace is timeless and gorgeous!

One of my favourite images of all time!

Love her! I admit, I have a girl crush on her...

Gorgeous dress! Well done Duchess!
For my friend's wedding in June, I'm making lace candle holder centerpieces.

I'm sure you've seen them all over Pinterest! They're everywhere- as they should be!

Last week I went down to the States and a major part of that trip was to check out JoAnn's. I keep hearing good things about this store and the one thing I knew I wanted was their Paper Mache Letters. I also wanted to check out their lace and I was delighted to find out it was a) super cheap! and b) on sale! I got two different types of lace which I'm using to cover candle holders for the wedding centerpieces.

I got 4 yards of lace and 2 paper mache letters for about $20.


The centerpiece will be a collection of different sized candle holders, all covered in lace. To give this a try, I used a little tea light candle holder from Michaels.

Life: Designed

Since the holder is quite shapely, I used the lace on the left because it's softer and not as stiff as the one on the right.

Measure (or eyeball) how much lace you need. With a sponge brush apply mod podge to the holder then apply the lace. Warning- It's going to get sticky! Then brush on another layer of mod podge on top of the lace.

Let it dry completely and then use an x-acto knife to trim any edges (if needed).

Life: Designed
I found some clear plastic cups lying around the house and figured... why not?

Life: Designed
For these, I created a paper template which made it a lot easier to cut the lace and also eliminated the need to trim any ugly edges. (The stiffer lace was much easier to work with for this shape)

***For the plastic cup holders, PLEASE use battery operated tea light candles!!

Life: Designed
This wedding is going to have 22 tables... Each table will have about 5 candle holders so I'm going to be making over 100 lace candle holders and vases!
The plastic holders are an inexpensive alternative that I'm going to mix into the glass collection. Hopefully no one will notice the difference!

I'll share again once I have the mock up completed!

In the meantime... Grace, Ivanka, Kate: who's your favourite?


Monday, February 27, 2012

Liebster Blog Award

The wonderful Sarah over at Dwell On Joy has awarded me my first blog award!


The Liebster award is granted to new bloggers with less than 200 followers, by a blogger who is a fan of your work. Thanks so much Sarah! 


I tried to find the origin of this Liebster award but it remains a mystery- which kind of adds to it's appeal! I did however find out that "liebster" is German for "beloved". Aw... how lovely!


A large part of receiving such an honour is to pay it forward and bestow the Liebster to 5 other new bloggers!


It's hard to pick just five, but here we go!


Craft Crazy Mom
Maria at Craft Crazy Mom is simply AMAZING! I love all her projects and her daughter is SO cute!


Charmed by Sweets
May at Charmed by Sweets is a dear friend and an uber creative gal who's especially gifted with baking. Yum!!


Handmade by Is
Is at Handmade by Is has the added challenge of writing her posts in both English and Spanish but she does a great job at it and has really great crafts to share with us!


Urbane Jane
Jane at Urbane Jane is a teacher by day, DIYer extraodinaire by night!

Teresa Boyd

Teresa's blog chronicles DIY projects from her 1950's rancher plus other little gems!

Now here is your mission (as per Liebster award rules):


1) Thank the blogger who awarded it to you.
2) Link back to the said blogger who shared the award.
3) Post the award on your blog.
4) Pick 5 other blogs you want to recognize.
5) Visit the 5 bloggers and let them know that they receive the award.


Congrats ladies! Keep up the great work and know that you are loved!! =)


Friday, February 24, 2012

Ikea Rast Dresser Makeover!

Hello! I've only been gone from blogland for a few days but it feels like forever! Glad to be back!

So my last post was about a dollar store jewelry box and m&m's. I'm happy to report, the jewelry box's colour has been tweaked a little (more on that in a bit!). I'm sad to report my trip to the States rendered ZERO m&m's... I couldn't find them anywhere! So when I got home I called Nestle. Yes... I called the chocolate company! I might be a wee bit obsessed with these m&m's.

Well.. turns out the triple chocolate and mint m&m's are under review- meaning they aren't currently being made.. AhhhhhhHHHH. This does not look good for my favourite m&m's.

That put a damper on my day. Not to mention we got a whole lot of wet snow and rain today! I thought winter was on it's way out??!

However! I was determined to not let that stop me from finally painting my dresser!

So I ventured out in the rain/snow and got my pulls from Anthropologie:

Life: Designed
Love love love them! They cost almost twice as much as the dresser...but they sure are pretty!

I'm sure most of you are familiar with the Ikea Rast Dresser:

Ikea
Last year I was going through a white phase and painted all my furniture white.

Life: Designed
Well... I don't know about you but I need some colour in my life! And currently any shade of blue/green is my colour of choice!

I've had various thoughts on what to do with this dresser but once I saw those Anthropologie pulls, I was done!

After I made my painfully expensive purchase, I raced over to Home Depot to get some paint. I have several shades of turquoise and seafoam green in my little collection but I didn't want to spend time mixing colours to get the right shade.

I didn't need a lot of paint so I was just about to get the tester paint for Martha Stewart's Hummingbird Blue when I passed by the "returned paint section" and saw this:

Life: Designed
It was pretty much the exact same shade as the hummingbird and the whole gallon was $9!! How could I resist?!

Not to mention it's:
Eggshell finish. Check.
Has primer included. Double Check!
Low odour. Triple Check!!

With just 2 coats and a protective finish, I was done! And I'm in love.
(I have so much of this paint left over that you can expect many more projects using this colour!)

Life: Designed
It's so fresh and feminine. Those pulls will be a part of my life for a very very long time.

Oh and that jewelry box I painted a few days ago? Well with my abundance of left over paint, I repainted the box so now it matches the dresser perfectly! As luck would have it, the hardware was a perfect match to the drawer pull hardware!

Life: Designed

Life: Designed

Who says you can't have tree branches in your bedroom?? That's the left over branch from Mia's 100 day celebration.


Finally my dresser is made over and I couldn't be happier!

Happy Weekend Everyone!!

Tuesday, February 21, 2012

Dollar Store Jewelry Box


Last week I came across this little jewelry box at the dollar store. (It was actually $2 but still a good deal!)

Life: Designed
In anticipation of my dresser makeover (exactly when this makeover is taking place is still TBD...) I decided to paint the box a lovely shade of blue!

Life: Designed
It's a wee bit darker than I was going for. That's what you get when you paint at 2am with just a table lamp! But it's a lovely shade nonetheless. Once the dresser is painted, maybe I'll tweak the colour of the jewelry box. For now, it'll do a great job of keeping my jewelry in one place as opposed to being scatter all over my room (and bathroom).

Life: Designed
Life: Designed
I had a faux mohair fabric sample that I cut to size and put on the bottom for a nice cushion-y liner! I LOVE mohair. If only it was real....One can pretend. =)

Life: Designed
I love the clasp! The little "brass" details are the reason why I bought it.

Not bad for $2! I wish it came in a variety of sizes. I would love to have a tiered stack of these on my dresser!

I'm going to the States this week! Just a short day trip. I'm SO excited to stop by Hobby Lobby and Joann's. Target is also a must. Can't wait to get me some triple chocolate m&m's! Can you believe we don't get these here in Canada?! Boo....


Hope you're all having a great week!

Monday, February 20, 2012

Pink Tutus!

In the header of Maria's Craft Crazy Mom blog, her daughter is wearing an adorable hot pink tutu. Little did I know, Maria makes those!


Craft Crazy Mom


And did you know Maria has an Etsy shop? I didn't until recently!


Last Christmas I bought my niece a little tutu from Winners but it was nothing like the ones Maria makes. I'm currently really digging her 3 piece set that comes with a tutu, headband and pin! SO cute! 


Bijou Baby Boutique
It's pink and yellow and tulle! Remember this post from not so long ago? It's perfect! It's a sign. I gotta have it. 


I mean, Mia's gotta have it... heh


I think it would be perfect for her 1st birthday! Or any day really....


Bijou Baby Boutique


Oh my goodness. Can you get any cuter?! 


I'm emailing my sister right now. If she doesn't want to buy this, she's crazy.


Side note: I'm not affiliated with Craft Crazy Mom or Bijou Baby Boutique or getting paid for this post. I just think this is too good to not share!

Saturday, February 18, 2012

Stained Magazine Holder

A while ago I mentioned this faded magazine holder I got for $5 at the thrift shop. (Original price: $57!)


Life: Designed


This sat in my room for a week as I went back and forth over what to do with it. I finally decided to stain it for a few reasons:


1) I've never stained anything before and I wanted to try it!


2) To prove I'm not one of those "all wood needs a coat of paint!" people that DIYer's and decorators are often accused of being.


3) It's for my sister who's living room is currently in between decor as they will be moving soon....so I wanted to keep it simple.


I was going for a deep, dark tone so I got this from Home Depot: 


Life: Designed
I got the smallest can available and of course to skip a step, I got the one with the polyurethane already in it. I don't have a lot of spare time on my hands... efficiency is paramount! =)


I was so excited to get this stain party started that I rushed home, gave it a quick light sand and went at it!


Life: Designed
So... if you're thinking this looks no different than the before picture, you'd be correct! I might be new this staining thing but I'm pretty sure something should happen...


I picked up the can and read, "stir well". Yes. I admit it! I didn't stir the can! You'd think that would be obvious. Oops. Haha


Life: Designed
Ok, so you might not be able to tell, but believe me, this was about about 2 shades darker!


I love how the magazine holder comes apart. Makes it SO easy to stain!


Life: Designed
I was hoping for a much deeper stain but this was definitely a step up from the original. The stain really brought out the beautiful grains which I love!


Life: Designed
Here it is after 2 coats. Staining is such a long process. I'm far too impatient!  (Recommended drying time: 8 hours between coats)


Before and after:


I realize I chose the wrong stain colour... it's not quite the deep dark tone that I was going for but it's still a step up from the original!


What are your thoughts on the staining process? Love it or hate it?


And what do you think? Should I go darker? Sometimes I look at it and think it's fine but most days I think....it needs to be DARKER... like ebony dark...


Happy Weekend Everyone!! =)