
I love thrift stores. If I could, I would spend days sifting through every store in town finding goodies.
Funny... I can't spend more than 5 minutes rummaging through racks of clothes looking for a good find but switch those clothes for home decor and I can stay all day!
Frames are the one thing I consistently look for at thrift stores even if I don't have a specific need for one.
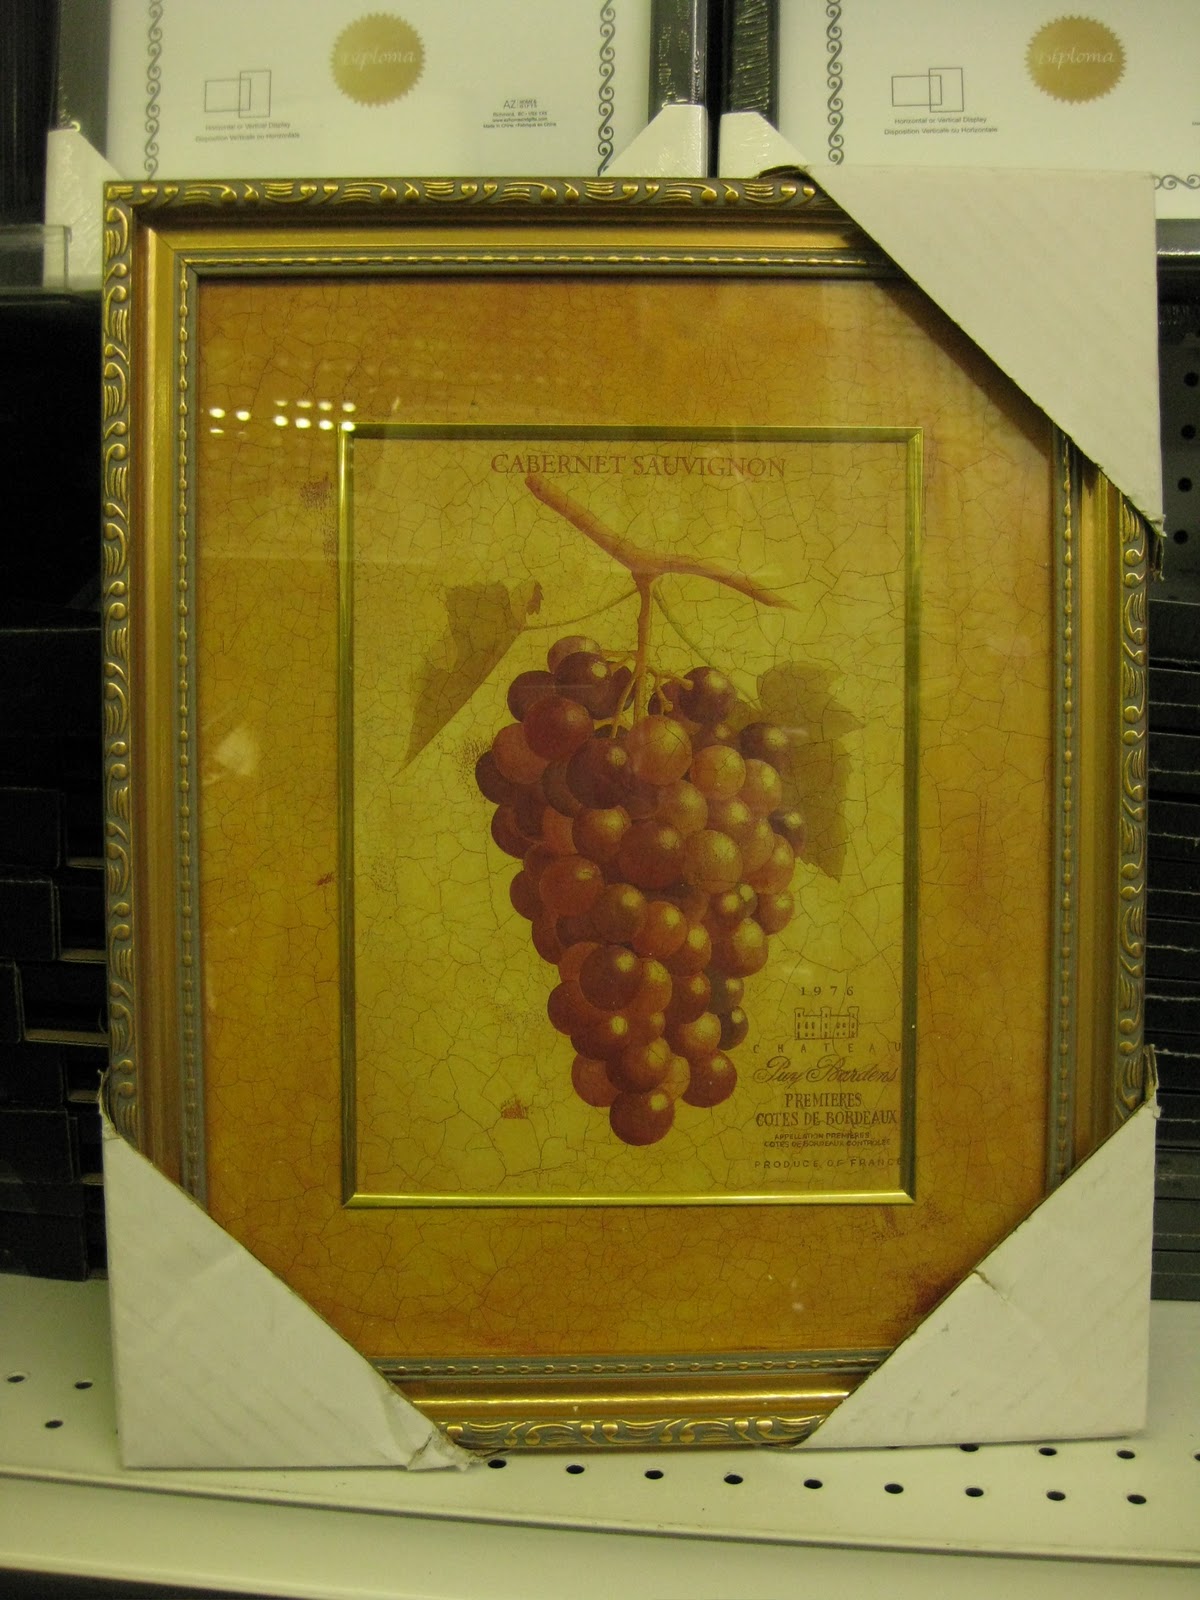
Dollarstores seem to be up-ing their game recently. I've been able to find score some decent ones like this one:
All I needed was some spray paint and wrapping paper. Yes. Wrapping paper. I was going through an owl phase and found a really cute, colourful pattern at a local shop. It was sold by the sheet which is awesome. I find wrapping paper that is sold by the sheet tends to be thicker paper and just higher quality in general than the wrapping paper you get in rolls.
So in no time, I had this:
 |
| Life: Designed |
It's hard to tell but I went over the frame with light sandpaper so some of the gold is showing through for a wee bit of a distressed look. The wrapping paper is so fun and cute! It was perfect for my niece's nursery.
Here's another piece I was working on from a large frame I found at the thrift store:
 |
| Life: Designed |
The happy yellow background is another sheet of wrapping paper. I like the sort of giraffe, animal print I get from it.
Remember this ABC storage cabinet? I used the left over place mat for this frame. The glass for this frame unfortunately was damaged so I replaced it with acetate. This was actually a blessing because it made the frame 5x lighter.
For a 3-D quality, I painted a wooden C that I got from the dollar store. At this point, we didn't know the gender of the baby, let alone the name. It worked out though because both mom and dad's last name start with C.
I really loved this but the yellow wrapping paper is REALLY yellow. You can't tell in the picture but it just didn't go with the more orange yellow drapes I had already sewed.
So sadly I swapped out the wrapping paper and used left over fabric I had from some cushions I sewed for the Toy Chest.
 |
| Life: Designed |
On their own, I`m not sure which one I like better...
But in context with the room, I know this one is the winner.
 |
| Life: Designed |
What do you think? Feel free to disagree.
The room needed more art and I absolutely love ABC or 123 prints for kid's rooms. So being on a SUPER tight budget, I decided to make one! I am by no means a graphics minded person but I gave it a shot using Publisher.
 |
| Life: Designed |
Again, this frame is a thrift store buy. It didn't have a glass or plastic panel but that was just fine. As you might have noticed, I love three dimensional qualities in frames.
All that is, is a thin foam core backing, my graphic work of art (haha) mounted on 3/16" thick foamcore and then I just simply pinned it to the backing. I actually like that you can see the pins in the corner.
 |
| Life: Designed |
There they all are! I think in total, the cost of all three was about $30!
Okay, just ONE more. I promise.
My brother-in-law wanted to add a Mickey Mouse poster from his childhood bedroom.
I couldn't find a suitable frame at the thrift stores so I decided just to make one using foamcore. (Due to school, I have foamcore coming out of my ears).
With some spray paint and acetate, it was done!
 |
| Life: Designed |
There it is on the top left. One day hopefully a more suitable frame will be found! But for now, a foamcore frame is just fine!
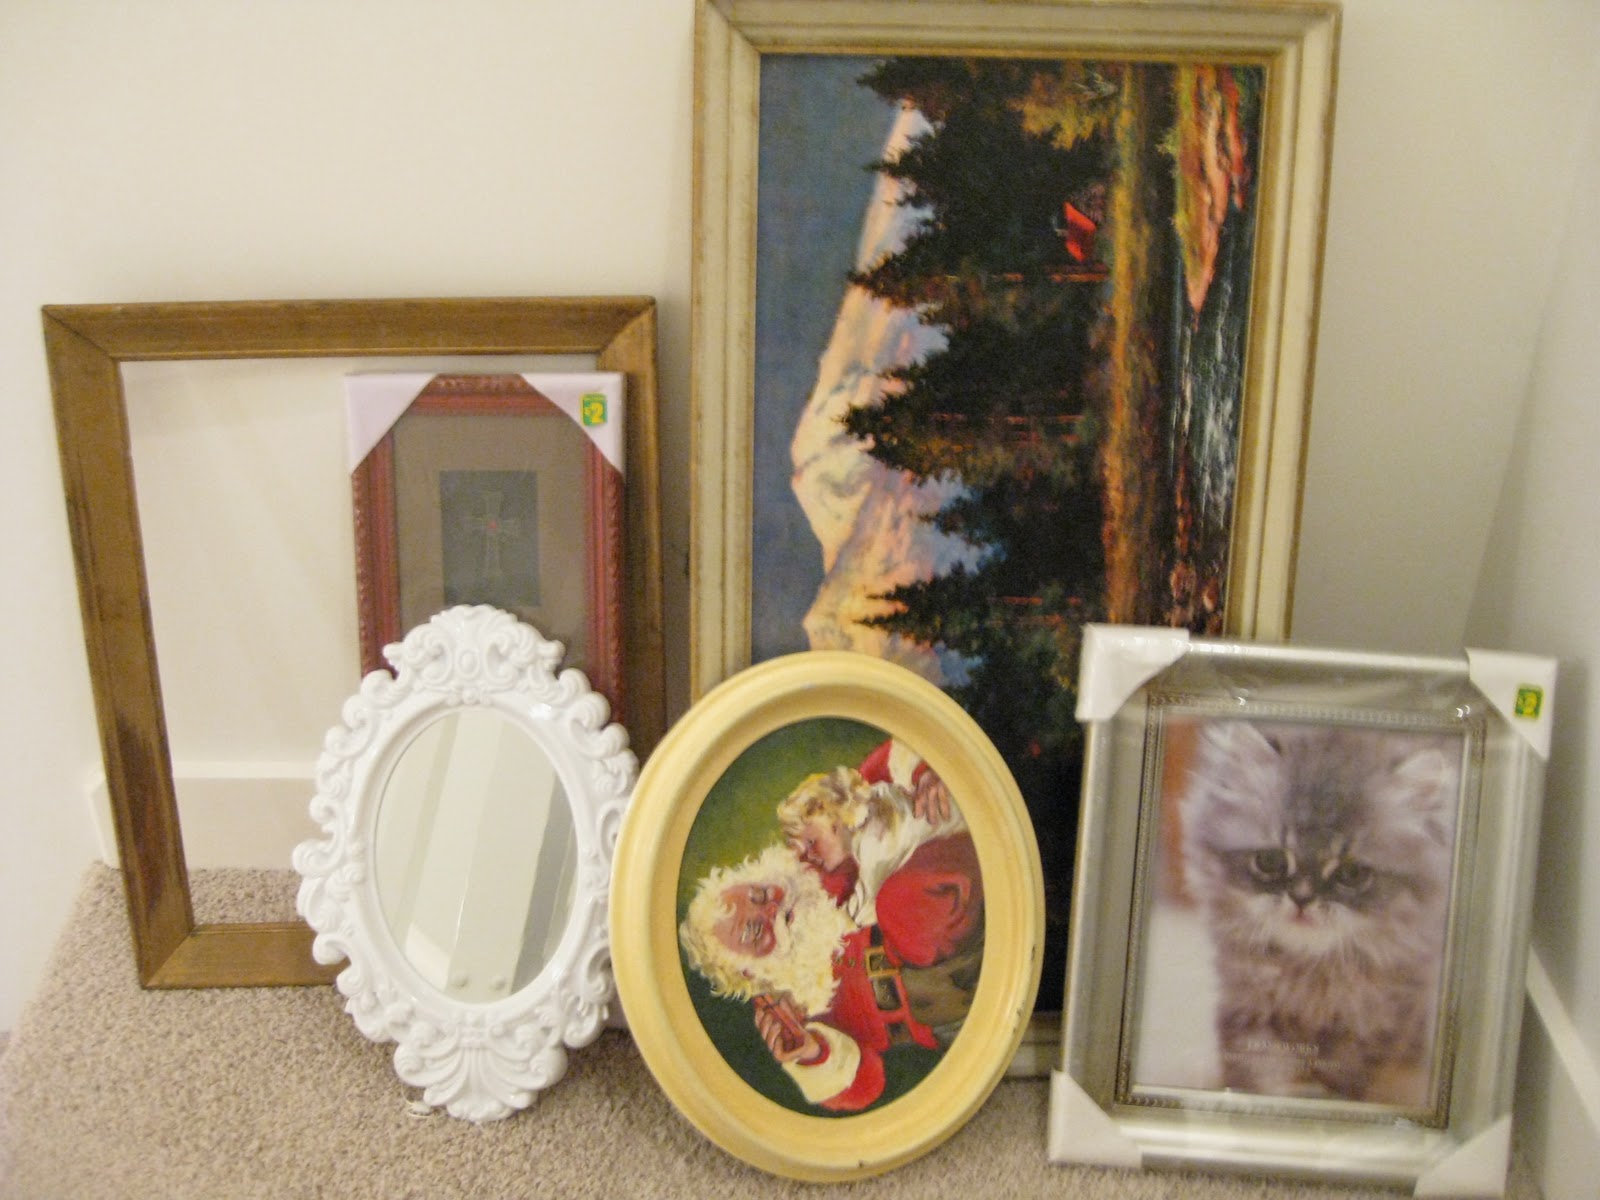
I'm currently collecting a BUNCH of frames for a friend's wedding. Here's a small collection I gathered from a thrift store and dollarstore:
 |
| Life: Designed |
What's going to become of these?? Just wait and see!
Thanks for reading! =)
Wow! Your blog is UH-MAZING! Thanks so much for stopping by and keep up the amazing work!
ReplyDeletecraftcrazymom.com
Thanks Maria! I just saw the chest of drawers you refinished and it's awesome!
DeleteHey Nancy! Thank you for your lovely comment on my blog , I'm following back :)
ReplyDeleteKeep up the good work! I love frames with different content!
You can also check out our facebook page :
http://www.facebook.com/pages/Unidentified-Lifestyle/130153917018776
:) See you around!
Maria
http://www.unidentifiedlifestyle.com
Thanks so much Maria! I'll be posting on the shopping bags this week and I'll be sure to put a link to your blog!
ReplyDeleteNancy
What a great idea for frames! You are so clever. Thanks SO SO much for sharing at my link party! I hope you link up again soon. Following your blog so I can stop by again!
ReplyDeleteThanks Sarah! I'm not sure why my thumbnail image didn't show up! Oh well. haha. Thanks for hosting!!
DeleteNancy
I love the wrapping paper idea, clever!
ReplyDeletewww.craftingrebellion.com
Thanks! It's such a budget friendly way to make wall art!
Deletevery cute ideas!
ReplyDeleteLove the wrapping paper! Your blog is so GREAT!! XO, Aimee
ReplyDeleteThanks Aimee! I'm a fan of your blog too!
DeleteMentioned this project and a link to it on my site today :) Thanks for a great project idea!
ReplyDeletewww.craftingrebellion.com
Thanks! I love the damask wrapping paper you used!
Delete